
How to iron clothes
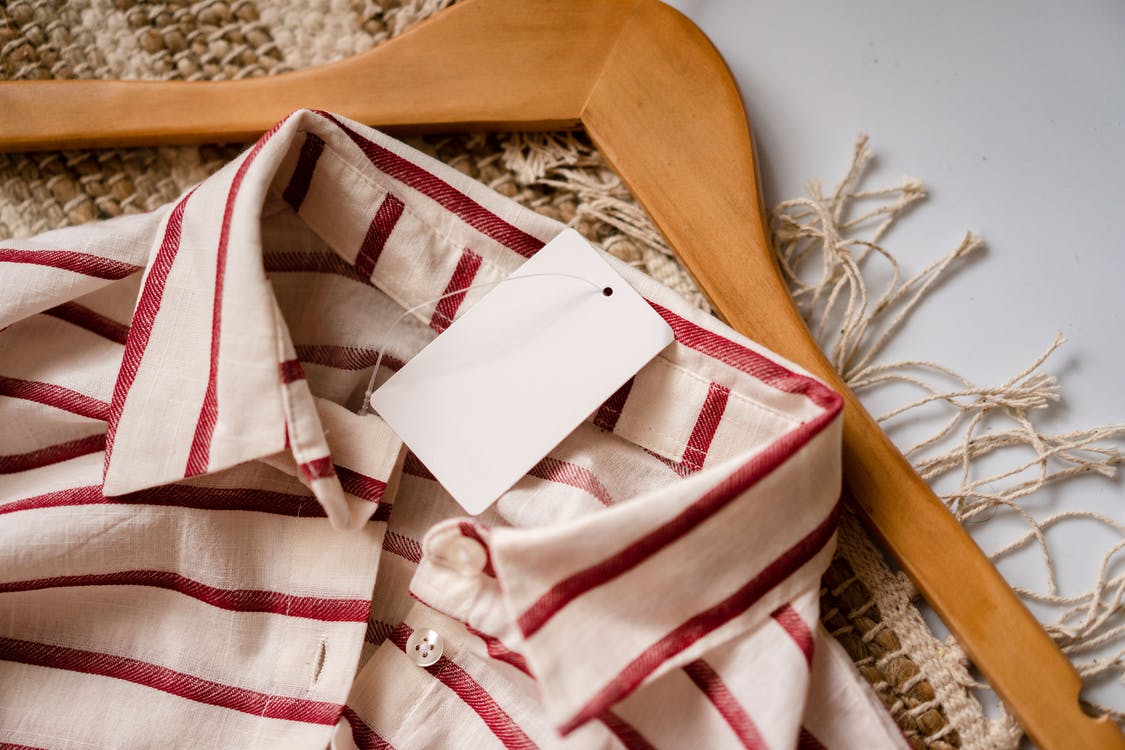
From shirts to suits, pillow cases to pants, there’s nothing like achieving that crisp but smooth to touch finish after laundering. Read on for our ultimate ironing how-to guide, so you can master the perfect press wash after wash, and rejoice in a wrinkle-free wardrobe.
Check the care instructions
Before you even get out your iron, always check the garment or linen care label, to see whether the item can be ironed, and which temperature setting to use. The dots on ironing symbols correspond to the dots on an iron’s temperature settings: the more dots there are, the more heat can be applied. Three dots are for cotton and linen, two dots are for synthetics, one dot is for the most delicate fabrics, such as wool and silk. Check out our guide on decoding laundry care symbols for the full details. Always start with the coolest temperature recommended for the fabric, then increase the heat accordingly. To save time and prevent accidental melting or scorching, we also recommend starting with the items that need the coolest setting, then working your way up to the ones that need the hottest.
Set up your iron
Whether you have a full-sized or tabletop iron, take care where you place it. Make sure the cord isn’t strung across a space where a child or pet could pull the iron down. It’s also important to check the base plate of your iron for grime or rust, and clear the surface of debris, as an accumulation of starch and mineral deposits can lead to rusting, leaving unsightly spots on clean fabrics. Ensure your ironing board cover is clean too (most covers are washable), then lay a clean towel over the board to prevent starch build-up.
Iron while still damp
As a general rule, iron your items while they’re still slightly damp. This is particularly important for cotton and linen pieces that require pressing. To add moisture to already-dry items, simply sprinkle the fabric with water, or use an ironing spray such as starch or sizing. It’s easy to make your own eco-friendly and fragrance-free ironing spray: dissolve a heaped tablespoon of cornstarch in 2 cups of cold water, until the mixture becomes milky, then transfer to an empty spray bottle. Make sure you shake well before each use (as the cornstarch will otherwise settle to the bottom of the bottle). Be mindful that more cornstarch will add more stiffness to your garments, so you may wish to adjust the quantities depending on the level of crispness you want to achieve.
Iron on the inside
You should iron most fabrics on the reverse side of the garment, to reduce the risk of shiny marks appearing (which happens when the heat of the iron flattens or melts the clothing fibres). This is especially important when ironing dark colours, as well as silk, linen, rayon and acetates. It’s also important with velvet, corduroy and textured fabrics (like seersucker), as ironing on the ‘right’ side can crush or flatten the natural pile and even remove the texture. When ironing shirt collars, cuffs, pockets or hems that are double the thickness of the fabric, iron the inner side first before moving to the outside, to smooth lingering wrinkles. You can also pre-dampen these areas (particularly curled hem edges) before ironing, or lightly steam them during ironing.
Iron lengthwise and hang with care
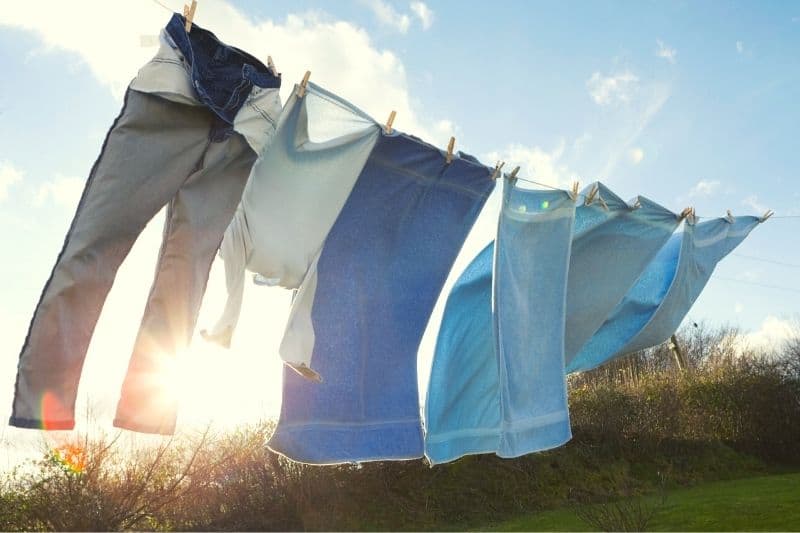
Iron garments lengthwise, in long, sweeping strokes, to prevent stretching. Make sure the surface of the fabric is as flat as possible, to avoid ironing creases into them. Hang your pieces immediately after ironing, to help them keep a crisp, freshly-pressed finish.
Take care with detailing and pockets
Avoid ironing over zips, buttons or any detailing or embellishments - simply weave the iron in and around them. Iron outer pockets from the bottom up to limit bunching, but pull out large inner pockets before you iron them, to avoid creating a pocket outline.
How to iron shirts
STEP #1: Iron the inside collar. Move the iron from the tip to the middle, always in one direction. Don’t turn the collar down again until you’ve finished ironing the rest of the shirt.
STEP #2: Iron the inside and outside cuff. Start on the inside, from the bottom edge of the cuff towards the sleeve, then flip and repeat. Get to the pleats by using the iron’s tip.
STEP #3: Iron along the sleeves. Make a straight fold from shoulder to cuff by pulling the sleeve taut along the seam, so both layers of the fabric are smooth when you lay the sleeve on the board. Iron in long, sweeping strokes, then rotate and repeat.
STEP #4: Iron the shoulders flat. Position the armpit part of the sleeve over the tip of the board, so the sleeve hangs over the edge, then use the iron to press each shoulder flat.
STEP #5: Iron the yoke. Press the iron from one shoulder to mid-back, then repeat from the other shoulder (the yoke is the area under the collar going across the shoulders).
STEP #6: Iron the front. Start with the placket (the opening at the neck), sweeping down from the collar in long strokes each side. Take care with pockets and buttons (see above).
How to iron trousers
STEP #1: Start with the waistband. Position the waistband over the top of the board, then gently press the iron over the waistline, zip area and hem.
STEP #2: Iron the inside pockets. Pull them out from inside each trouser leg and press.
STEP #3: Iron the legs. Iron each trouser leg from top to bottom, then rotate and repeat. If there are pleats, press the iron along the pleat line for a just-pressed look.
STEP #4: Finish with the hems. Iron the hems from the inside, then on the outside.
How to remove iron scorch marks
If you accidentally scorch a garment, don’t panic! If possible, act immediately - fresh scorch marks are easiest to deal with. Simply work a little detergent into the stain (using either your fingers or a soft-bristled brush), leave for 10 minutes, then wash in the hottest water recommended for the fabric. You can also try blotting light scorch marks with a clean white cloth dipped in distilled white vinegar. Be sure to move the cloth to a clean area as the scorched fibres are transferred, and use another clean, damp cloth to rinse. For heavier scorch marks, you may need to physically remove the damaged fibres first: use a soft brush or toothbrush on natural protein fibres such as wool or cashmere.
Top tips for ironing clothes properly
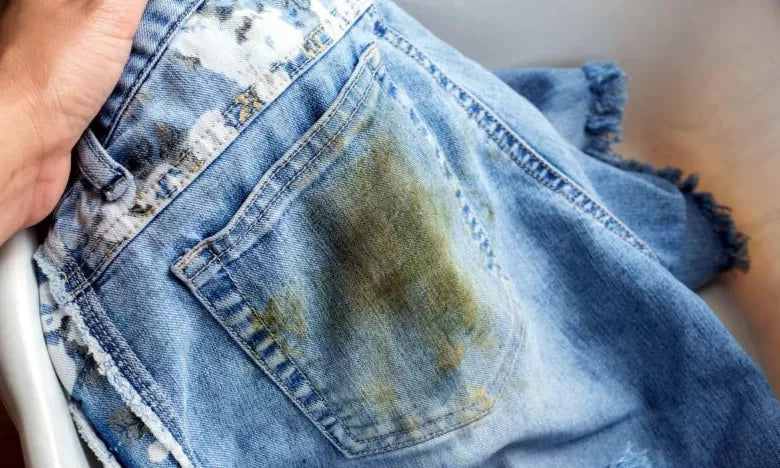
TIP #1: Never iron soiled or stained clothes. Iron only clean and stain-free clothes, both to reduce wrinkling, and to prevent the heat of the iron setting the dirt or stain into the fabric.
TIP #2: If you’re not sure whether you can iron an item (for example, if your label is missing, or lacks suitable care instructions), test a small area first on a low heat setting.
TIP #3: To keep delicates like wool, silk and cashmere crisp and wrinkle-free without an iron, you can hang your pieces in your bathroom while having a hot shower. The combination of heat and water will gently steam your items and release creases.
TIP #4: To prevent the build-up of scorched starch or sizing, clean your iron once every 2-4 months with a clean cloth dipped in a solution of distilled white vinegar.
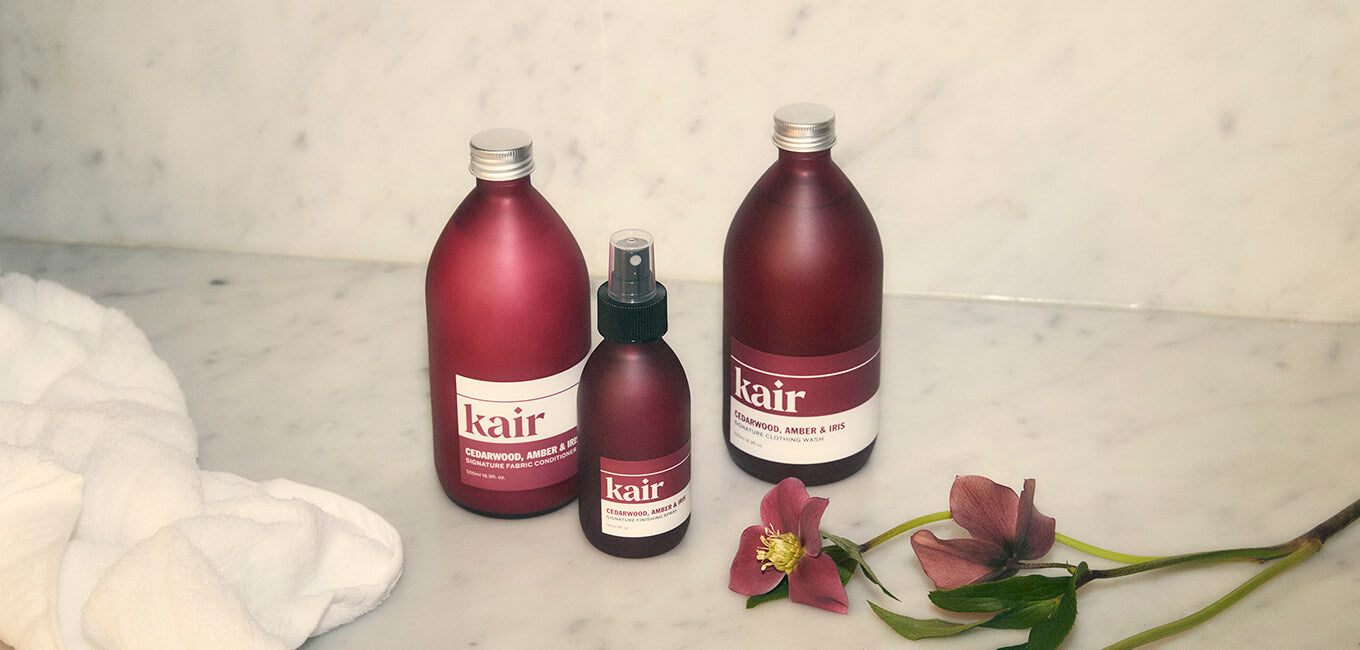
TIP #5: Save time and energy by only ironing when absolutely necessary. Consider spritzing with one of our Signature Finishing Sprays instead: they’ve been specially formulated to relax a fabric’s fibres and smooth out unwanted wrinkles and creases.
Now you know how to iron clothes properly, you can say goodbye to even the most ruinous wrinkles, and enjoy super crisp, perfectly pressed pieces wash after wash.
Cover image by Shutterstock